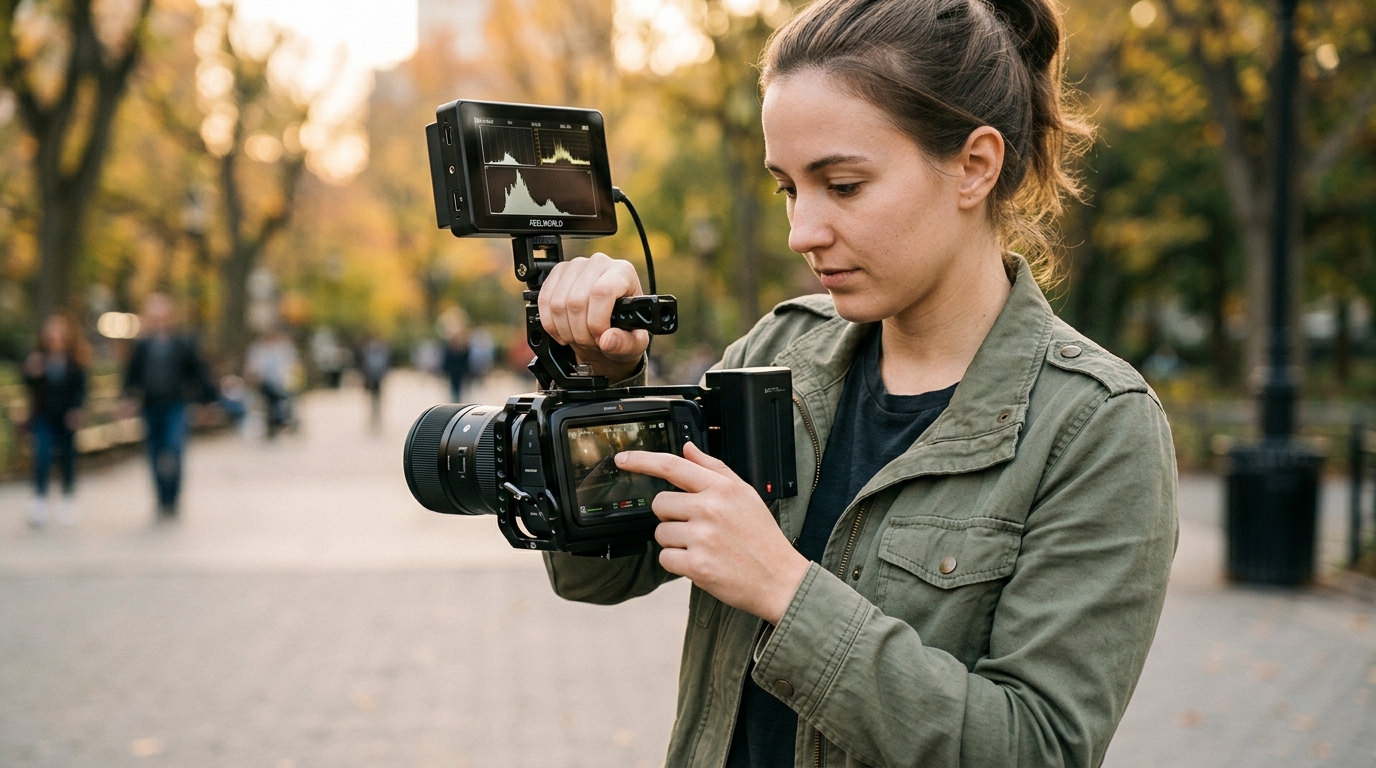
Category: Tutorials & Guides || Posted Jul 26, 2026
How to Use the BMPCC: A Complete Beginner's Guide to Camera Setup, Filming, and Post-Production
If you are stepping up to a Blackmagic Pocket Cinema Camera (BMPCC)—whether the classic MFT 4K, the Super35 6K Pro, or the full-frame L-mount Cinema Camera 6K—the first thing to realize is that it is not a traditional mirrorless hybrid camera.
Unlike cameras from Sony, Canon, or Panasonic that rely heavily on continuous autofocus, in-body image stabilization (IBIS), and automatic exposure modes, Blackmagic cameras are built strictly as dedicated digital cinema tools. They won't hold your hand on set, but when set up correctly, they deliver Hollywood-grade dynamic range, organic color science, and incredible editing flexibility through Blackmagic RAW (BRAW).
Here is your end-to-end beginner’s guide to rigging, exposing, and post-producing BMPCC footage.
1. Rigging & Hardware Setup (The Mandatory Essentials)
Out of the box, a Pocket Cinema Camera is essentially a high-end sensor with a large rear screen. To make it production-ready for real-world shoots, you need to address three immediate hardware constraints: power, storage, and body protection.
- Power Solution: Internal LP-E6 or NP-F batteries typically drain in 25–40 minutes. Mount a V-mount battery plate or an NP-F970 adapter to your rig and feed power directly into the camera’s 2-pin 12V DC input for 3 to 5 hours of continuous runtime.
- Fast USB-C SSD Storage: While CFast 2.0 and UHS-II SD cards work, recording directly to an external USB-C SSD (like a Samsung T7 Shield or SanDisk Extreme) offers the best cost-per-gigabyte for high-bitrate BRAW files.
- Full Camera Cage: A full aluminum cage (from SmallRig or Tilta) adds mounting points for top handles, monitor arms, and crucial HDMI/USB-C cable clamps that protect your ports from strain or accidental unplugging during a shoot.
2. In-Camera Setup & Filming Workflow
1.Set Motion Blur with 180° Shutter Angle:Step 1.Instead of adjusting shutter speed, switch your camera menu setting to Shutter Angle and lock it at 180°. This automatically keeps your shutter speed at double your frame rate (e.g., 1/48s when shooting at 24fps), preserving a natural cinematic motion blur regardless of frame rate changes.
2.Select Codec & Compression Rates:Step 2.Choose Blackmagic RAW (BRAW) in Constant Bitrate 8:1 or Constant Quality Q3/Q5. BRAW captures maximum highlight and shadow detail while keeping file sizes lightweight enough to edit smoothly on standard laptops.
3.Leverage Dual Native ISO:Step 3.Pocket cameras feature dual native ISO circuits (typically ISO 400 and ISO 3200).
- Use ISO 100–1000 for bright daylight or controlled studio lighting (centered at ISO 400).
- Switch to ISO 1250–6400 in low light (centered at ISO 3200) to engage the second native gain circuit, dramatically reducing digital noise.
4.Expose Using False Color:Step 4.Do not judge exposure using the LCD screen brightness. Map False Color (a visual heat map of your image's brightness levels) to a function button (F1 or F2). Aim for:
- Green (42% IRE) / Pink (55% IRE): Accurate human skin tones.
- Red (100% IRE): Clipped highlights.
- Purple/Blue: Crushed shadow detail.
5.Lock Manual Focus:Step 5.Since Pocket cameras use basic single-shot autofocus, pull focus manually. Enable Focus Peaking (set to Red or Green) or use the 100% screen zoom button to confirm sharp focus on your subject's eyes before hitting record.
3. Post-Production Workflow in DaVinci Resolve
Every BMPCC camera includes a full license for DaVinci Resolve Studio. Because BRAW is deeply integrated into Resolve, your post-production workflow is faster and more flexible than standard h.264/MP4 video files.
Non-Destructive BRAW Controls
When you drop BRAW clips into DaVinci Resolve, navigate to the Camera RAW tab in the Color page. Because you recorded raw sensor data, you can non-destructively adjust the following metadata settings as if you were changing them inside the camera on set:
- White Balance & Color Temp: Fix improper lighting warmth or tint without degrading image quality.
- ISO & Exposure: Boost or cut exposure up to 2 stops without introducing severe artifacting.
- Color Science Generation: Automatically decode shots using Blackmagic Gen 5 Color Science for natural skin tone reproduction.
A Simple 3-Node Color Grading Setup
Rather than slapping a heavy creative LUT onto flat logarithmic (Film) footage, set up a basic 3-node tree on the Color page:
- Node 1 (Primary Exposure & WB): Adjust your Lift, Gamma, and Gain wheels to balance contrast and exposure.
- Node 2 (Color Space Transform - CST): Add a
Color Space Transformeffect. Set input color space to Blackmagic Design Film Gen 5 and output color space to Rec.709 / Gamma 2.4. This converts flat log footage into standard display colors with mathematically accurate highlight roll-off. - Node 3 (Creative Look): Apply subtle color adjustments, hue tweaks, or film emulation styles after the conversion node.
BMPCC Camera Lineup Comparison
| Camera Model | Sensor Size | Primary Lens Mount | Built-In ND Filters | Standout Advantage |
| BMPCC 4K | Micro Four Thirds (MFT) | MFT (Active) | No | Budget entry point; vast library of affordable vintage and MFT lenses. |
| BMPCC 6K Pro / G2 | Super 35 | EF Mount | Yes (6K Pro only) | Built-in 2, 4, and 6-stop motorized ND filters for rapid daylight shooting. |
| Cinema Camera 6K | Full Frame (36x24mm) | L-Mount | No |